
OUR BEST KITCHEN FINDS!
Over the years we have bought or have been gifted our fair share of kitchen gadgets. In truth, 80% of them are nonsense space hogs. You know the ones, they either didn’t work as advertised, or sit on the counter or in a cabinet taking up space for YEARS with no use. However, today we are sharing our absolute FAVORITE kitchen gadgets that were well worth the money for how often we use them and how great of quality they are! The best part: we found all of them are available on Amazon! Three cheers for one-stop shopping!
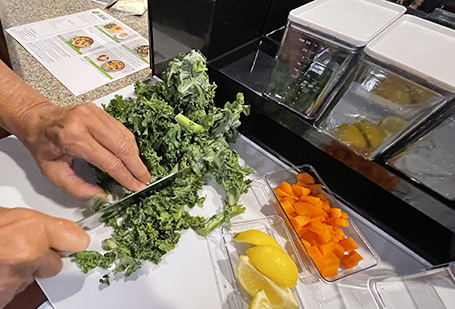
The Prepdeck

This is a life saver if you cook a lot, and especially handy if you have a meal service or follow written recipes. This self-storing stylish cubby is a cutting board, ingredient sorter, tool hub, and even holds the the stems and ends you cut off from your produce, so you’re not combating the trash while you cook. You can even add on an attachment to hold an ipad for your recipes if that’s how you roll. It’s pricey but comes with a bunch of tools, bins, and a magnetic removable cutting board. The whole thing stores away in a sleek and minimalist manner, so it will look cute on the counter too!
Cuisinart “ICE” line of ice cream makers

This is THE BEST ice cream maker we have ever used. If you are venturing into home made ice cream, this one is a must! Don’t get fancy or be fooled by bells and whistles, the “ICE” line is a simple machine and is the absolute best at churning out delicious ice cream /frozen yogurt/ sorbet. (Ours is a Cuisinart ICE-20.) It’s worth noting: This machine even won in a crowd and chef-based test among several competitor brands and more expensive models on The American Test Kitchen!
 Aluminum Pizza Peels
If you make pizza often, frozen, fresh, or from scratch – a pizza peel is a must! A thin (but sturdy) metal peel transfers items to and from the oven with ease. We use it for pizza, calzones, breads, and anything else that bakes straight on the rack. We even use a peel to retrieve cooked pies.
PRO TIP: Make sure you pick one with a solid handle, none of those collapsing, folding, and/or bolting handles – pizzas can get heavy so you want one solid wood piece for the handle.
Pizza Stones

Do you make your own pizza? A REAL (thick) pizza stone will make it bake evenly every time. No more mystery moistness in the under crust. It will be crisp and perfect.
Teak and Wooden Spoons

We are firm believers in the power of baking and cooking with wooden utensils. It magically makes things feel more special and they look great arranged in a vase on the counter.
 Zucchini Spiralizer
If you have ever thought of cutting back on your traditional pasta intake, or wanted to incorporate more vegetables into your diet, a vegetable spiralizer is the way to go! They make fancy expensive ones, attachments for Kitchenaid mixers, but my go-to is the “as seen on tv” “Veggetti” version. It takes up hardly any space, is inexpensive, and allows me to make “zoodles” at a moment’s notice, with no prep at all. One end makes thin noodles and the other makes thicker. You just stick the vegetable in one side and turn it like you’re sharpening a pencil.
Pyrex Bakeware and Storage Sets

It can be pricey for a good set, but you will buy it once and use it for YEARS! Our Pyrex is 20 years old and still going strong! These glass dishes are great for storing left overs, cooking in, and serving too. It’s also an environmentally friendly storage option because it’s reusable and made from glass. NOTE: If you ever happen upon the vented lid versions – those lids have all lasted the 20 years and are still going strong. The plain lids bit the dust after 10 years or so – but that’s still a good run for the money!
PRO TIP: Tomato sauces and plastic lids (or bowls) are not friends. Keep lids stain-free by simply spraying the lids with cooking spray before you cover any tomato-based dishes and it will resist staining.
And now for a whole section of KitchenAid. My motto is when in doubt, choose the KitchenAid! It’s never let me down.
KitchenAid Stand Mixer

There’s a reason you see these everywhere. They really work, and work well. They look cute on the counter too!
KitchenAid Blender
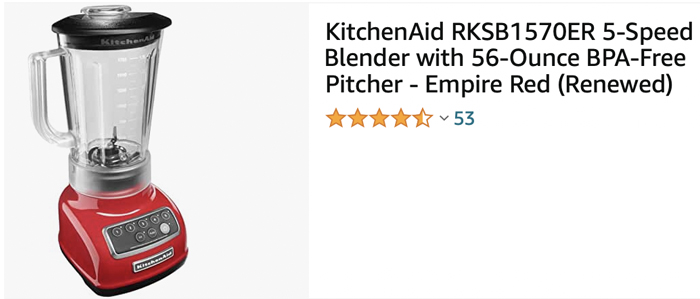
I was torn between this and another top brand, and I am SO glad I chose this one. It blends consistently, is reliable, and doesn’t have a million blades to clean.
KitchenAid Mini Food Processor
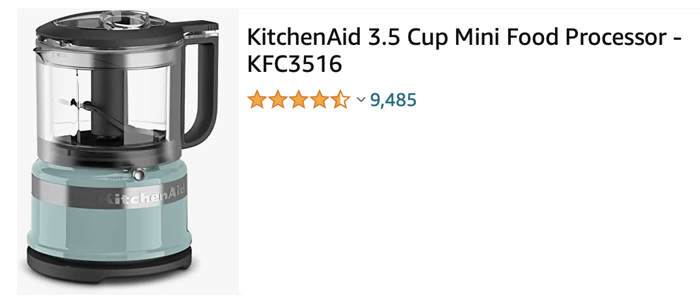
This thing is great for making small-batch dressings, dips, or mincing vegetables, I’ve even used it for chopping nuts!
What are your favorite kitchen gadgets? Let us know your kitchen and cooking related must-haves in the comments on our social media:


 That’s right pizza! You can make your own dough, or if you want a quicker pizza making experience, pop over to your local Publix bakery for their dough. Ask any bakery worker for it if it’s not easily spotted in the Bakery.


 Your chosen meals will arrive like clockwork in a big Hello Fresh box full of fresh goodness. If you forget to choose your meals for the week, the algorithm will choose for you. Be sure to learn your “choose-by-day” deadline so that you can avoid any unwanted meals, or if you like to be surprised, let it roll the dice! From the HF website: “Choose from 50 weekly menu + market items including vegetarian, kid-approved and low calorie meals, crafted and curated by our chefs. Add ready to eat salads, sandwiches, soups and many more options.”
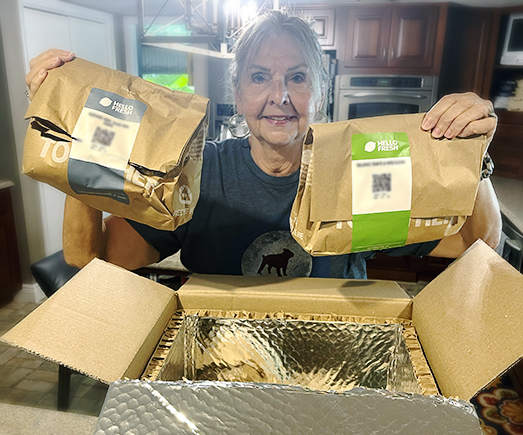


 It’s not just butterflies we’ve seen, but bumble bees, honey bees, and humming birds too.