
If you’ve ever bought flowers and never gotten around to actually planting them, we have a feeling it’s because planting can be intimidating. We’re here to share our best tips for a successful transplant.

STEP-BY-STEP
-
Use the plants in their containers to arrange and plan your garden.
-
Plan for how big the plant will be, not how big it is when you buy it.
-
Dig holes twice as big as the container they come in.
-
Plant with a gentle hand.
-
Use good soil and good plant food.
-
WATER, WATER, WATER!
Step 1: Place your store-bought plant containers, where you plan to plant them. This can help you map out your ideas and measure. It’s also a good time to double check the labels for light needs. Shift shade loving plants from bright areas, and sun-loving plants from shade areas.
Step 2: Ask a store associate or check the label for what size the plant will be when it is full grown. For example, if a plant will measure 3 feet wide when full grown, you want to plant them at LEAST 4 feet apart – or further if you want space in between. Just because the plants you buy are small at first doesn’t mean you should plant them close together. They are going to be BIG in no time at all!

Step 3: Make sure the holes you dig are deep enough for the plant. You can look up specifics of individual plants online, or ask a specialist at the nursery. We find a good rule of thumb is to dig a hole that is about twice the size of the container you purchase them in. Too shallow of a hole will make the plant struggle in the heat and cold because the roots will be more exposed to the elements. Too deep of a hole will make it harder for the roots to get water and nutrients. It’s the happy median you’re looking for.
Step 4: Plants are delicate and the transplanting process can be hard on them, so handle your new plants with a gentle hand to minimize the shock of the transplanting process. To transfer plants from container to the ground – gently grasp the plant around the base, turn the container to the side, and squeeze the container to help loosen it while you shimmy the plant free from the container. Be sure to gently separate the roots by using your fingers to loosen the roots underneath from the middle out. This encourages the roots to spread out which should help get it established quicker. Place the plant in the middle of the hole and cover with good soil.

Step 5: Most nurseries have their own potting mix, and the ones with cedar in the mix have worked well for us here in Central Florida. We typically put the “good soil” on the top so that when we water the plants the nutrients trickle down into the roots. Pack down the dirt around the plant so that the plant is supported and the roots are protected. Finally, sprinkle a slow release food, like Osmocote, around the base of the plant.
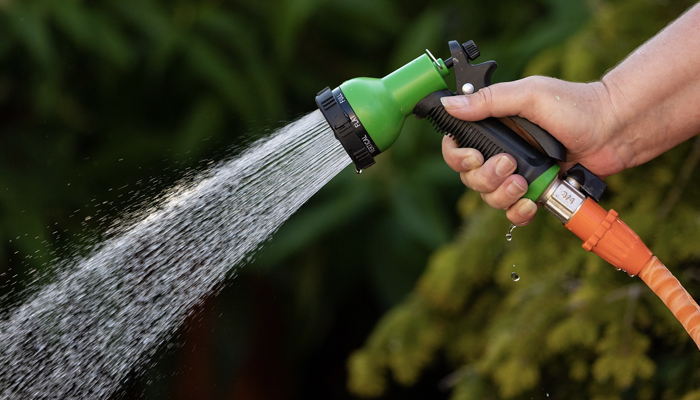
Step 6: WATER is so important for establishing your new plants. After you have planted and sprinkled with food, immediately water generously at the base of the plant. (Ideally, using a garden hose with “shower” setting.) Be sure to water new plants every day for at least the first week. Here in Central Florida, SUN and HEAT are a factor – so only water in the early morning before the sun OR after the heat and sun of the day (dusk) as to not burn your plant/leaves. PRO TIP: Water new and established plants at the base. The roots are what distributes the water and nutrients. The leaves and stems do not. Wet leaves in the sun and heat can burn/kill your plants.
Click here to read our previous article for ground care tips, including the easiest way to keep weeds out of your beautiful new flower bed!
