Curb Appeal

Sod vs. Seeds, Which is Best?

lawnSod is the quickest way to an instant lawn. So what’s the downside to sod? It’s more expensive, which results in people trying seeds over and over again. In our opinion, it would be better to replace your lawn in phases than to continually waste money on seeds that never take.

Can seeds ever work?

Absolutely! Sometimes seeds do work, but if they don’t work the first time, they’re probably not the solution for your particular situation. It’s time to save up and consider sod. Here are some instances where we’ve seen seeds do well:

  • A resting yard. If the area is mostly undisturbed with minimum foot traffic (no pets or children tearing up the ground) the seeds are more likely to be successful. 
  • Dappled light or areas with shorter lengths of direct sunlight. When the grass germinates, this will keep it from drying out and dying in the harsh sun. Monitor your yard’s sun exposure and make sure to purchase the right type of seeds for your particular situation.
  • When using a sprinkler system, or a strict watering schedule. This will give the seeds the moisture they need. Follow the directions on your particular brand of seeds.

PRO TIP: Follow the specific instructions on your brand of seeds and follow their recommended watering schedule.

Is sod ever affordable?

It’s rarely “cheap” but there are ways to save. Consider purchasing from a local sod farm. A straight-from-farm product is usually cheaper and healthier than that dried out stuff you pick up from the local home improvement store. Most farms deliver the sod straight to your yard. Keep in mind, farms usually sell by the palate, so if you need less than their minimum order, ask a neighbor if they would be interested in splitting the cost.

There are also big savings by installing the sod yourself. It’s not a fun job, and can be a lot of work, so work in stages and/or ask some family or friends to help.

PRO TIP: You must water new sod everyday until it is established. This is best done in the very early morning just before the sun comes up.

What if I don’t want either?

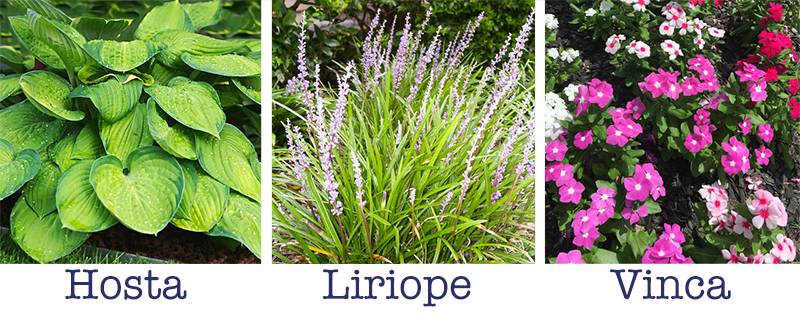
If you’d like to shrink your lawn, design areas to plant bushes. Azaleas bloom pretty flowers every spring and are a very hearty, low maintenance option. Knock Out Roses are a great continuous flowering option. You could also create rock beds or plain mulched zones with or without planters.

Lawn Care Tips:

“Cut it high to thrive!”

First, Florida lawns do much better when cut on the highest mower setting. We’ve found the taller the grass, the deeper the roots, and the thicker the lawn. This is a simple way to keep the grass healthy and block the weeds out.

PRO TIP: If you’re cutting your lawn with the lowest (shortest) blade setting on your mower, that’s probably why it’s not thriving. It’s often the reason for dead or bare spots too.

Next, a sprinkler system with a regular watering schedule is a must for keeping a lawn in Florida. Florida grasses are hearty and drought tolerant but they still need regular watering to really thrive.

DID YOU KNOW?: Your city/county likely has designated watering days. Watering outside of those days can result in fines. (New sod is usually an exception.) Be sure to follow your area’s watering schedule and rules.

Finally, watch out for invaders! Dig or pull up weeds, crab grass, and torpedo grass as soon as you see them. Skip the weed killers.

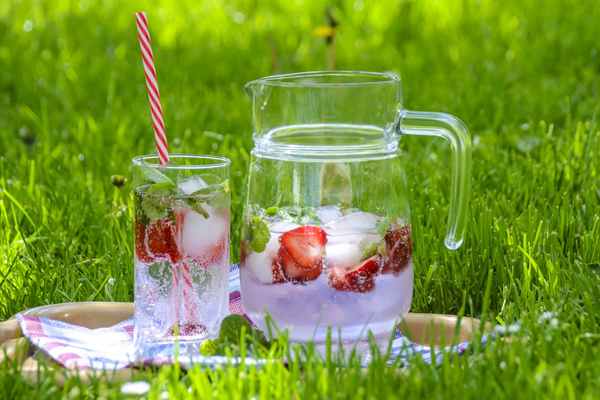
Cheers to creating a plush, picnic-worthy lawn!

lawn picnic


Curb Appeal

Prepare Garden Beds for Spring Planting

It’s “winter” in Florida, and the cool temps mean it’s the perfect time to get to all those projects that are too-hot-to-handle the rest of the year. Garage organizing, house washing or painting, cleaning the gutters, AND putting some muscle power into the garden is all so much easier when the weather is cooler.

Let’s get started!

We’re not going to trim much. Azaleas and Hydrangea, along with many other flowering bushes, flower on OLD wood – so trimming before the spring would be a big mistake if you want to see them bursting with flowers in a few weeks. This month we are going to focus on the ground and plants that are past their prime.

Tools and Supplies: Plastic Leaf Rake, Metal Garden Rake, Garden Hand Tools (the claw and the scoop), Gloves, Newspaper, Paper Yard Bags, Mulch. 

The right tools make ALL the difference when it comes to spending as little time as possible preparing and maintaining a garden. You’ll thank yourself later for investing in a few items for yard maintenance, even if you have to budget for them over time. 

Paper Yard Bags: Most cities cannot take yard waste in plastic bags. It’s better to have it loose in a dedicated trash can, or in paper yard bags like <<< these found at The Home Depot, and many other home improvement stores.


Rake: Clear beds first by raking leaves with plastic rake. Use a metal garden rake to loosen the topsoil/mix any remaining old mulch into the dirt. Evenly distribute.

Weed: If you can muster the strength, hand weeding things like clover and fern will allow you to dig down to the root and seed pockets – which makes it way harder for those garden invaders to come back so quickly. Dig up and discard dead plants, or ones you plan to replace this year.

Newspaper: This is the Earth-friendly secret to fewer weeds in your garden beds! Newspaper allows water to get through and blocks weeds at the same time. Once you have raked, loosened, and evened out the topsoil, cover the beds with old newspapers. You want it to be about three pages thick. The thicker the newspaper layer, the less weeds can grow. In areas you plan to have potted plants or nothing at all, make your layers a couple of pages thicker. Use only matte newsprint pages, discard any of the glossy coated ones. Once you have blanketed your bed in newsprint, lightly shower the papers with water to get them to stay in place, then cover the whole area with a layer of mulch or pine bark nuggets.

In just a few hours time, you’ll have beautiful garden beds ready for all of your spring planting, OR if you never get around to flowers, you have perfectly manicured and mulched landscaping!

A quick guide for common Central Florida yard waste and debris:

“Yard waste” is natural, organic matter only. Meaning; grass clippings, leaves, branches, weeds, dirt, etc. Plastic mulch bags, old plant containers, nails, screws, and other random things you happen to find outside should go into the regular garbage.

  • Palm fronds, can be stacked together or tied with jute or natural twine.
  • Ties should be an organic material like jute or natural cotton. (Not the white or yellow plastic cord stuff.) 
  • Fill PAPER yard bags about 3/4 of the way to avoid ripping.
  • Avoid those black plastic yard bags, even though the box says they are for yard waste. They don’t break down, so workers have to remove them.
  • It’s fine to fill a can with loose clippings and leaves, you only need to bag or bundle items that are not in a can.
  • Disperse heavier items among several cans (small tree trunks, branches, limbs, etc.) to offset the weight.
  • Large twigs, trunks, branches, bamboo, etc. should be cut into 3’ segements and bundled.
  • Our waste management company says you can typically put out as many cans and bundles as would fit in a large pick up truck bed.

Keep in mind, most yard waste is still tended to by hand by a small team of workers. Make sure your bins, bags, and bundles can be physically picked up to be dumped or hauled away. Over-filling bags and heavy trunk-filled garbage cans makes it really hard on workers, especially in the summer months.

Curb Appeal

Mini Home Makeover – Exterior Light Fixtures

We recently updated a few exterior fixtures around the house, and couldn’t believe how much more polished it made our home feel. Here are a few finds from Amazon to help you give your garage or porch a mini makeover.

Farm House Feels

Farmhouse Fixtures

Modern Moments

Modern Fixtures

Traditional Tastes

Traditional Style Fixtures


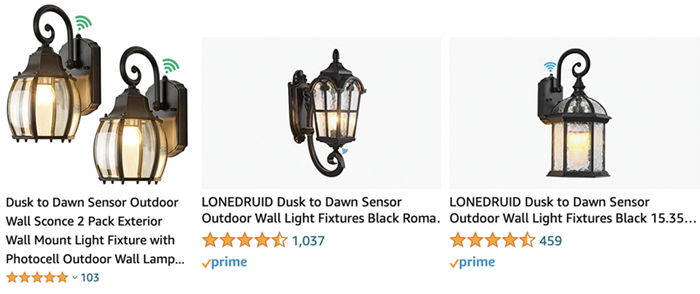
Consider using dusk to dawn type bulbs for a no hassle safety measure. You don’t even need new or special fixtures for these. It’s all in the bulbs!

If you don’t have the money to invest in new fixtures, revive your current ones with a good deep cleaning and fresh paint. We find brush paint worked best for getting into intricate designs, but people also spray paint them. Just be sure to buy the right kind of paint for the material you’re covering, and that it’s rated for outdoors. A paint associate at the home improvement store is usually pretty knowledgeable about what paint is best for various applications. That information should also be on the can too.

PRO TIP: When it comes to colors, black fixtures are traditional and timeless, which makes it a best bet for matching various home styles and trends. If you decide to go with a different or trendy color, just make sure it’s one that appears somewhere in your home palette. For example, copper-like sconces might go well with copper colored roofs, or accent paint/features.

copper light fixtures

Curb Appeal

Spreading Holiday Cheer

santa
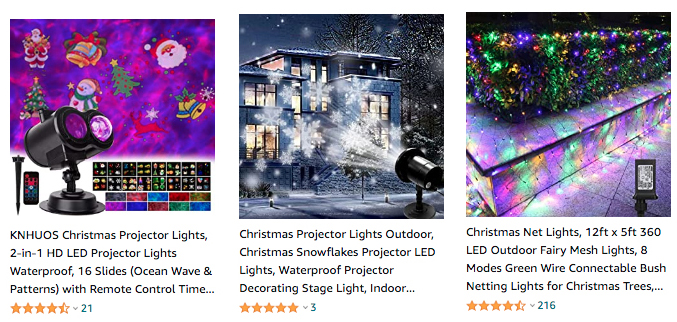
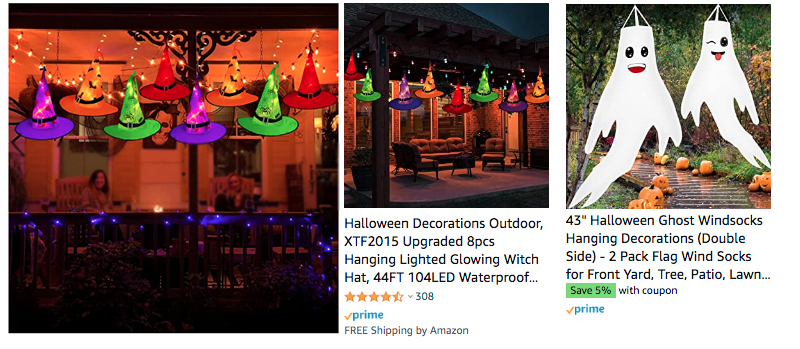
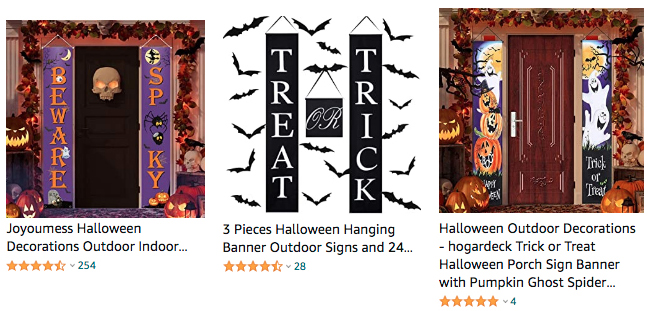
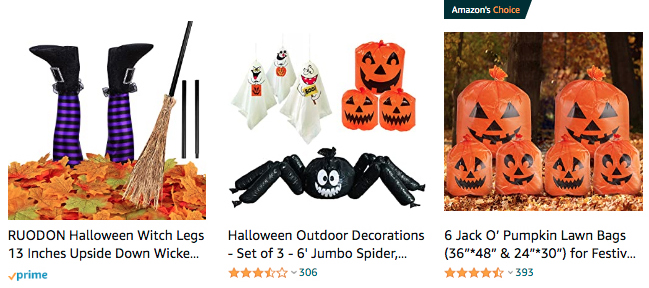
The last two years have been hard for a lot of people. If you have family, a friend, or neighbor in need of some holiday cheer, consider some quick set up/low impact yard decorations to quickly brighten their holiday! We found all the options below on Amazon.


STAKES

stake decorations

Yard Stakes: Create a cheery little pathway quickly with yard signs. They work just like a yard sale sign, but have holiday phrases and designs like these we found on Amazon. Use a yard stick or the sidewalk seam lines to evenly space the signs and it will look like Santa himself might have been supervising the install!

Solar Options: These can be a little tricky, so be sure to look at reviews. We bought several candy cane striped solar stake lights from Walmart for under $2 a piece. They are tiny little twinkle level of lights at night, but during the day look so festive! Alternate solar stake lights with yard stake signs for more of a visual impact.

MAGNETS

garage decorations

Garage Magnets: THESE ARE SO CUTE! We found phrases, ornaments, even reflective oversized Christmas light bulbs that turn a garage into a picture perfect holiday cards!

LIGHTS

Christmas Lights

Projector and Kalidescope Globe Lights: These lights flock an entire wall or bushes area in illuminated winter wonder in 5 minutes! Simply stake, plug it in, and go! PRO TIP: Dusk is the best time for set up, as you will not see where it is projecting during the daytime.

Shrubs and Bushes: Net lights set up in a snap when you have two people to help stretch it and place them over bushes.

INFLATABLES

Inflatable Christmas Decorations

You can’t go wrong with a fun holiday inflatable! We found the best deals on small ones were at the At Home store. They had many to choose from in the 4’ size starting at just $14.00!

Make sure whatever decorations you choose are rated for outdoor use and for the climate you live in. Here in Florida, when you’re buying online, sometimes “outdoor” just means it’s suitable for the cold, but we have to worry about the sun and heat too.

Don’t forget to tell your friend you will coordinate taking the display down for them after the holidays. It’s just another way to show you care!

Curb Appeal

Leave the Leaves

There’s good news if you hate raking and bagging leaves in the fall. Your yard may actually benefit from those fallen leaves!

Turns out, MULCHED leaves can be beneficial. Some leaves provide nutrients to soil but most just help to protect the lawn and block weeds. We read this is especially true if you have oak or maple tree leaves. Even if they have no impact to your soil’s nutrients, mulched leaves are found to be the environmentally-friendly solution to facing fall, because it keeps the bagged ones out of landfills, and cuts down on the need to use a leaf blower.

How do I use the leaves to benefit the lawn?

You simply use a lawn mower with a mulch feature and mow over the leaves, just like mowing the grass. It can take a few passes depending on how many leaves you have. If you have especially deep leaves you may need to distribute them after mulching with a rake, or by using the bag feature on the mower for the ability to empty and distribute them evenly into other areas of the yard.

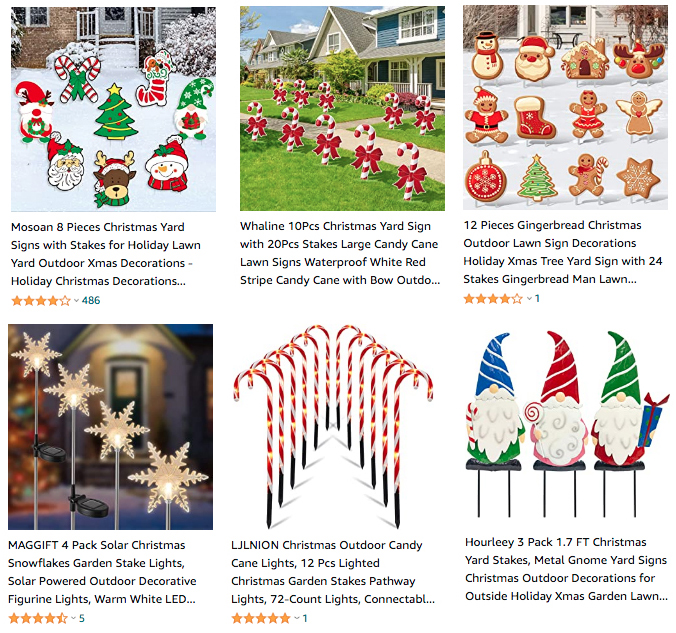
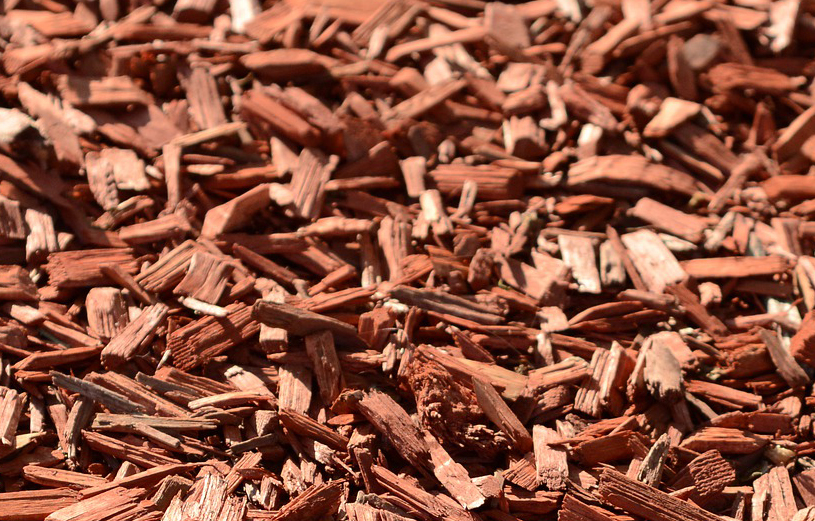
How much is too much mulch?

Distribute mulched leaves evenly, as to not suffocate your lawn. You should still see grass blades sticking through, not just a thick carpet of dried leaf pieces.

Can I use the leaves anywhere else?

Yes! The garden and flower beds are great places to distribute extra leaf mulch. It helps insulate and block weeds there too.

Do I have to mulch them? Can I just leave them be?

Mulching or bagging are the recommended options. Piles of leaves can suffocate the lawn. They also tend to get soggy and moldy too. When Spring rolls around you’re likely to uncover a very sad lawn situation.

So there you have it. Mulch the leaves and spend the time you save drinking pumpkin spice lattes in your autumn wonderland!

Have you mulched your leaves before? Share your tips with us in the comment section of our post for this topic on our Facebook and Instagram.

Curb Appeal

Halloween Home

This year, it seems everyone is ready to celebrate Halloween earlier than ever. We found plenty of options to decorate your yard in a flash on trusty ol’ Amazon.

Create a spooky scene with orange, green, or purple lights and a cool image projection show:

Decorate the porch with some witchy hats or ghostly windsocks:


While you’re there, add festive banners to the doorway:

Fashion a giant spider web that will be sure to gather some ganders:

Line your paths with a few jack-o-lantern stakes, or backlight some witchy silhouettes and faux grave stones:

Got leaves? Turn them into decorations:

Make your yard stand out instantly with giant inflatables:

SIMPLE DIY: If you’re not a fan of carving up your pretty pumpkins, try using black removable adhesive vinyl to cut out jack-o-lantern faces. Then gently remove after Halloween for perfect porch pumpkins.

How will you celebrate the spookiest season of the year? Share your decorated yards with us on Facebook or Instagram!

Curb Appeal

Mailbox Refresh

Does an old weathered mailbox got your curb looking drab? Time for a refresh!

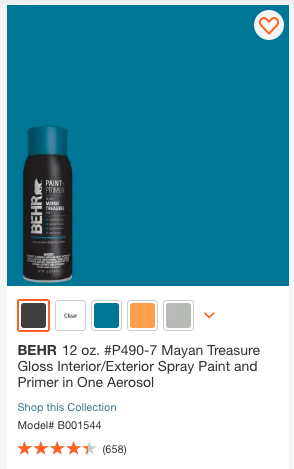
Start first by selecting a spray paint developed for exterior use and the type of mailbox you have. We had a sun-bleached brown plastic mail box, and found this spray paint by Behr, at the Home Depot (pictured here).

Our experience: This Behr indoor/outdoor spray paint was easy to work with and had good coverage. It came in a variety of modern colors, has corrosion protection, and states it adheres to “wood, metal, plastic, and more”. (We used it on plastic.) It has been several months now and our mailbox still looks shiny and new!

Note: Some paints will not cure properly in certain weather conditions. Different spray tips may have different prep instructions. Even if you’ve spray painted before, be sure to read the label for use and safety instructions BEFORE painting.

NOW, GRAB YOUR SAFETY GEAR AND HEAD OUTSIDE TO PAINT THAT MAILBOX!

  1. For maximum results, remove any stickers (like vinyl box numbers).
  2. Use newspaper and painter’s tape to snuggly protect any other areas you don’t want painted. Think prime areas for over-spray, like the red mailbox flag and the post. Stand the covered flag up before you start to paint, ensuring no paper or tape is touching areas to be spray painted. PRO TIP: Spray paint particles will drift in the air. Do not spray paint near cars, walls, or anything that you don’t want to accidentally mist.
  3. Read your paint’s label and follow the instructions. Prep your can as the label indicates, and do a small test spray on a scrap piece of newspaper or cardboard. You want a clean even flow with the paint. No spattering.
  4. Spray the box in long continuous strokes, keeping at least 6″ away from the mailbox. (If you spray too close, or for too long in any area, it creates runs and drips.)
  5. Let the box dry for about 30 minutes between coats.
  6. When the box is completely dry, remove the tape and newspaper.

SPRAYING IN A CONTINUOUS MOVEMENT IS THE KEY TO AN EVEN, PROFESSIONAL LOOKING FINISH.

I concentrated on the box part first, keeping the door open, and using a piece of cardboard to shield the edges to keep from spraying inside the box. After that dried, (about 2 hours) I loosely closed the door and spray painted it.

I left the box open over night to make sure nothing got stuck. I also put a little note in there that said “CAUTION: WET PAINT” incase the mail carrier got there early.

VOILA! A better-than-new mailbox!


Curb Appeal

Hey There, Hosta!

Simply edging the grass can really make a visual impact in your yard’s appearance. However, adding a plant or light edging to your pathway can take your curb appeal to the next level!

A few plants to consider for your path edges:

Hostas: This shade loving plant produces wide plush leaves, available in variegated colors. This plant’s consistent growth makes maintenance simple. Established plants also produce flower stalks.

Liriope: This is a low maintenance, fairly drought tolerant option to beautify your walkways. This grass like plant comes in a few varieties of colors and grow tiny flower stalks too.

Vinca: This pretty flower-based bush is a very hearty plant that reseeds – which means it continuously fills dedicated areas with vibrant flowers. These relatively low maintenance flowers are available in a variety of colors too!

Lighting: Path lights are an easy way to upgrade your walkways. These days solar and dusk-to-dawn options make installation and maintenance even more simple. We found the options below on Amazon.

Okay, I chose my plant or light, now how do I arrange them?

Plants: Plan for what size the plant will be, not what it is when you buy it. Check the information label on your plant, if the plant will grow to be at least 3 feet wide and 3 feet tall, we’d want to plant them at least 4 feet apart.

Plants AND Lights: Place the lights evenly between each plant so it looks like a planned design.

Lights Only: Use a yard stick or measuring tape to evenly space the lights.

PLANT TIPS:

  • A yard stick is a great tool for spacing.
  • Lay out the plants in their containers to visualize the spacing before digging holes. (Use sticks or paint stirrers to do the same thing for spacing lights.)
  • Be sure to choose plants that are right for the amount of sun or shade in your selected area.
  • Water regularly, this is especially important when newly planted.
  • Before you buy, be sure to research and/or check with a plant specialist at the nursery for information on the plants you like. A good nursery will usually have specific plant information, care tips, and will give you suggestions for planting them to flourish.
  • Research plant safety around pets and children.